

Understanding How Stone Cladding Is Installed in the UK
Before starting your project, it’s also worth understanding how much stone cladding costs in the UK, as installation is a key part of the overall investment.
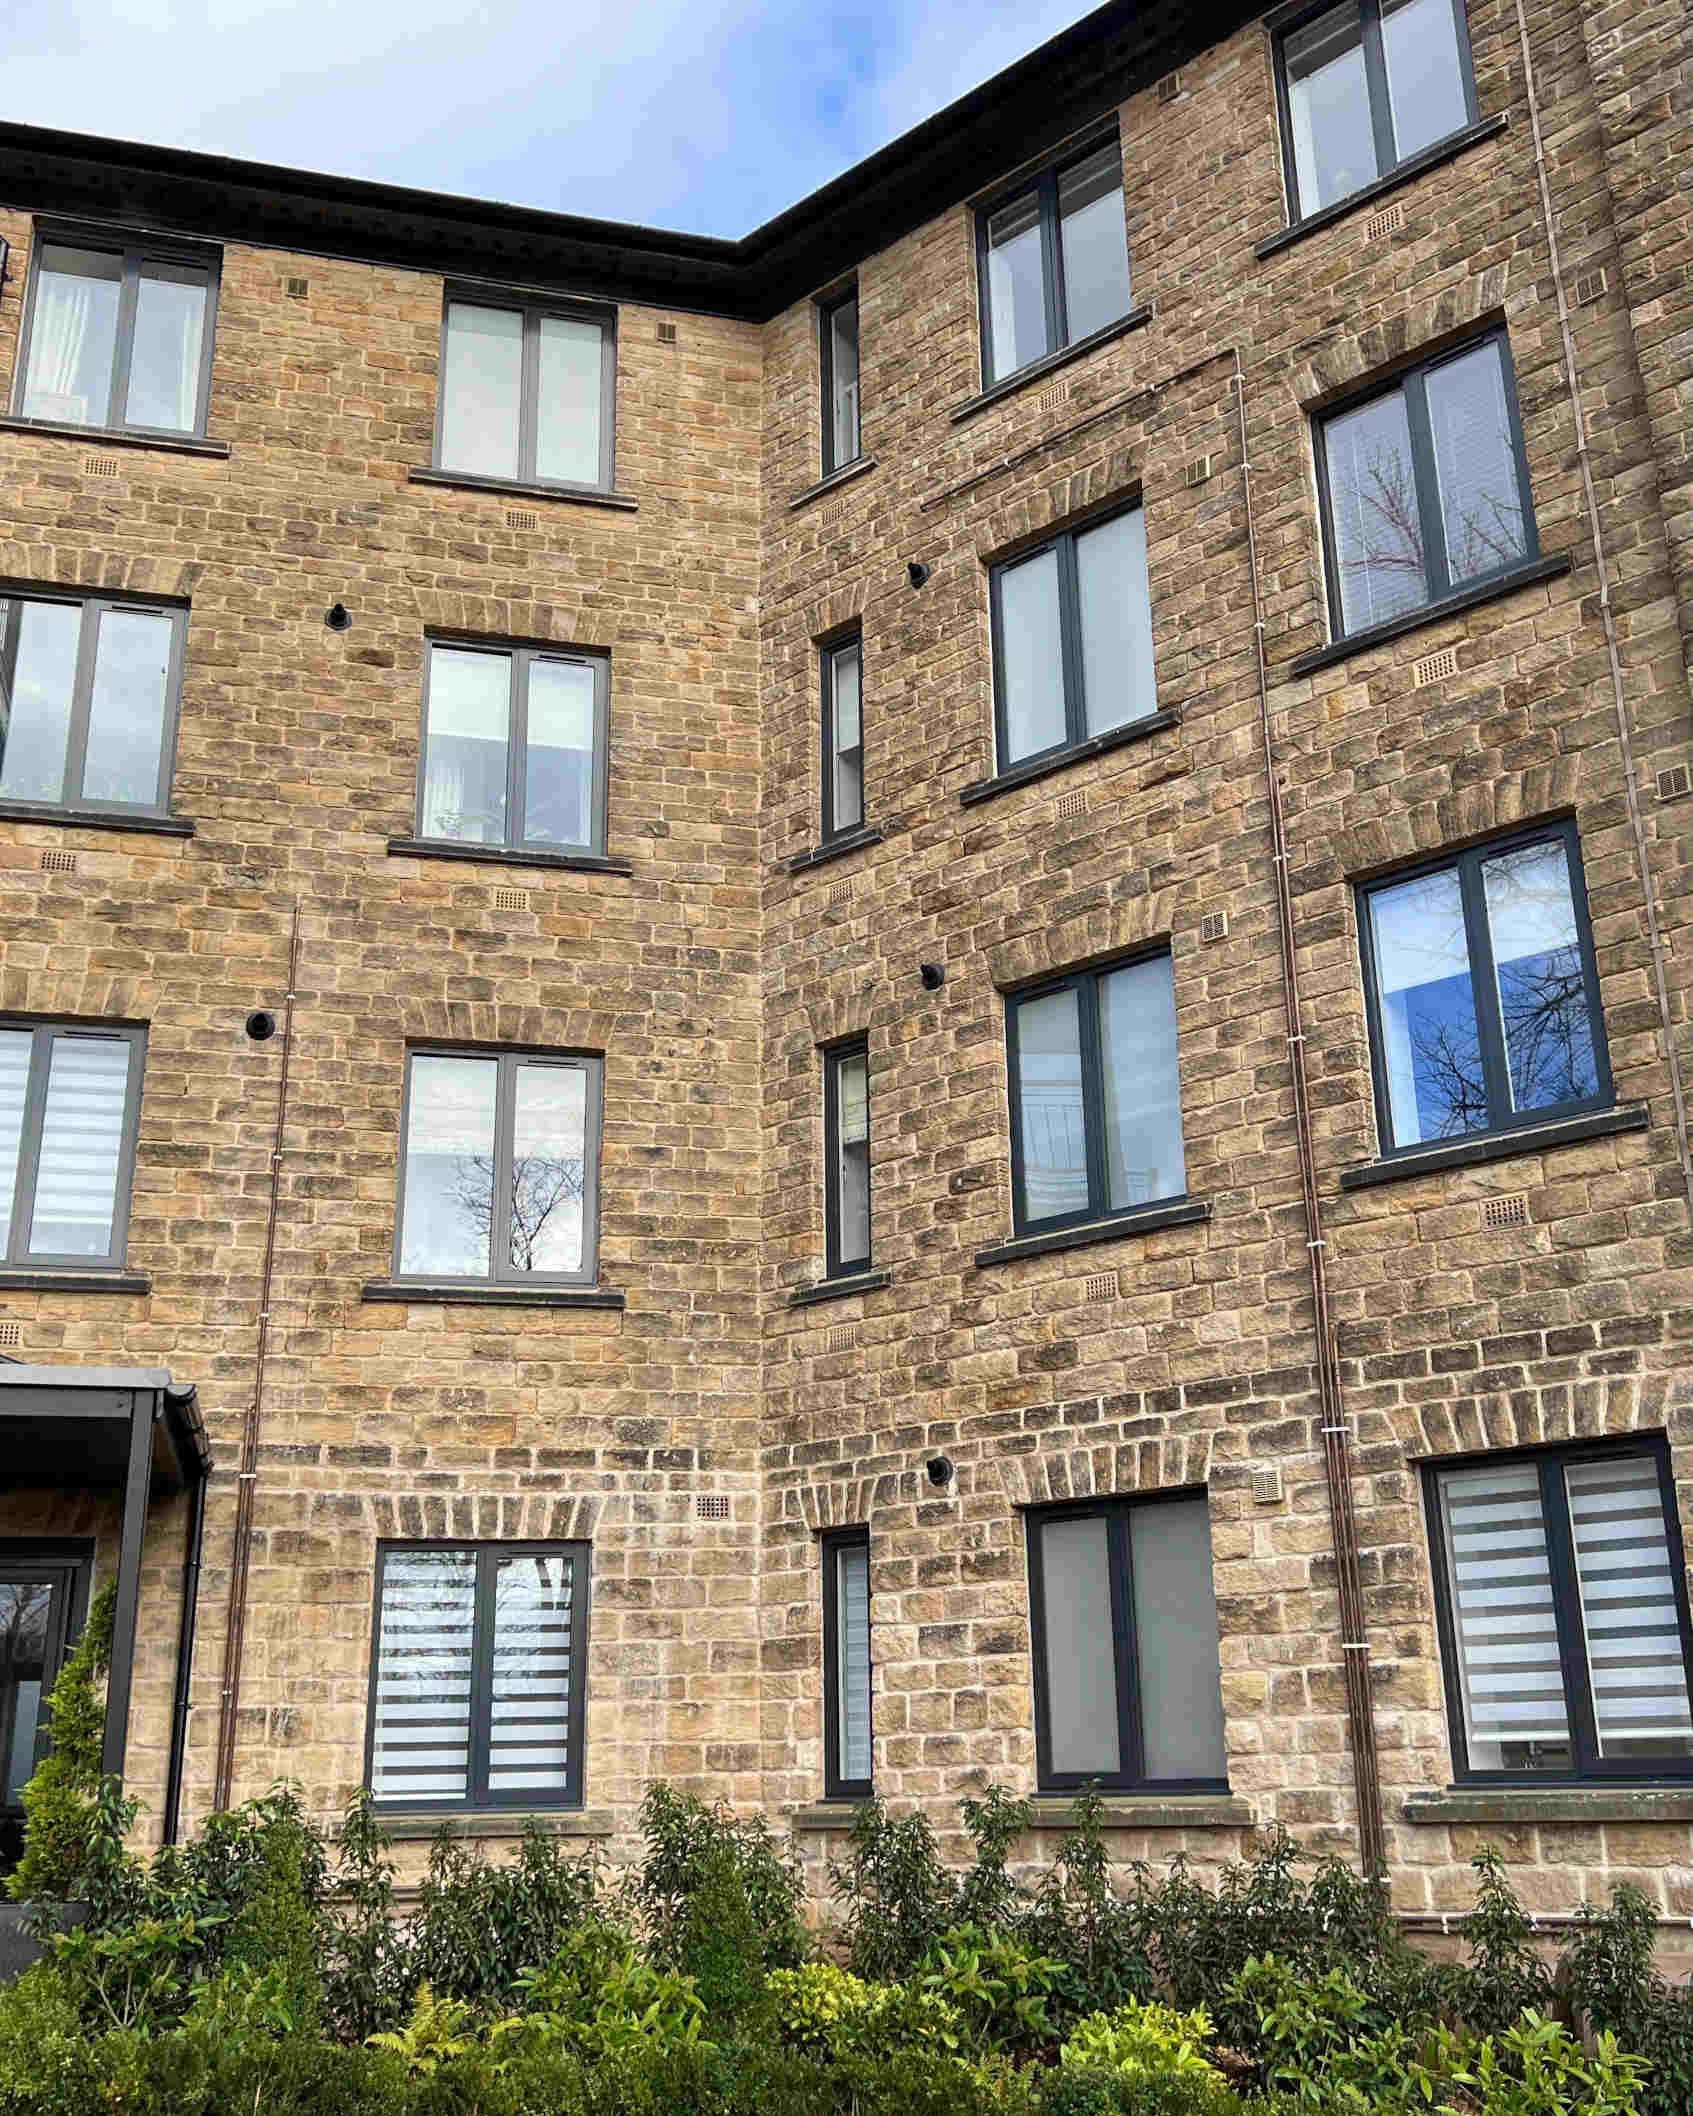
Stone cladding is widely recognised for its ability to transform both interior and exterior spaces, delivering a finish that is durable, visually striking, and architecturally timeless. However, achieving that result is not simply a matter of fixing stone to a wall. Proper installation is critical, and the quality of the finished project is often defined as much by the preparation and method as by the material itself.
For homeowners, developers, and contractors alike, understanding how stone cladding is installed provides valuable insight into both the process and the associated costs. Whether the intention is to undertake a smaller interior project or to specify materials for a larger exterior application, following a structured approach ensures that the result is both visually consistent and built to last.
Drawing on practical guidance and supply insight from Britannia Stone Company, this guide outlines how stone cladding is installed across typical UK projects, with a focus on best practice and long-term performance.
Understanding Stone Cladding Systems Before Installation
Before installation begins, it is important to recognise that not all stone cladding systems are the same. The method used will depend on the format of the material and the intended application.
Modern panel systems, such as interlocking Z-panels, are designed to streamline installation by allowing sections of stone to be fixed more efficiently while maintaining a natural appearance. These systems are commonly used for both interior and exterior applications and are particularly effective where a consistent finish is required within a defined timeframe.
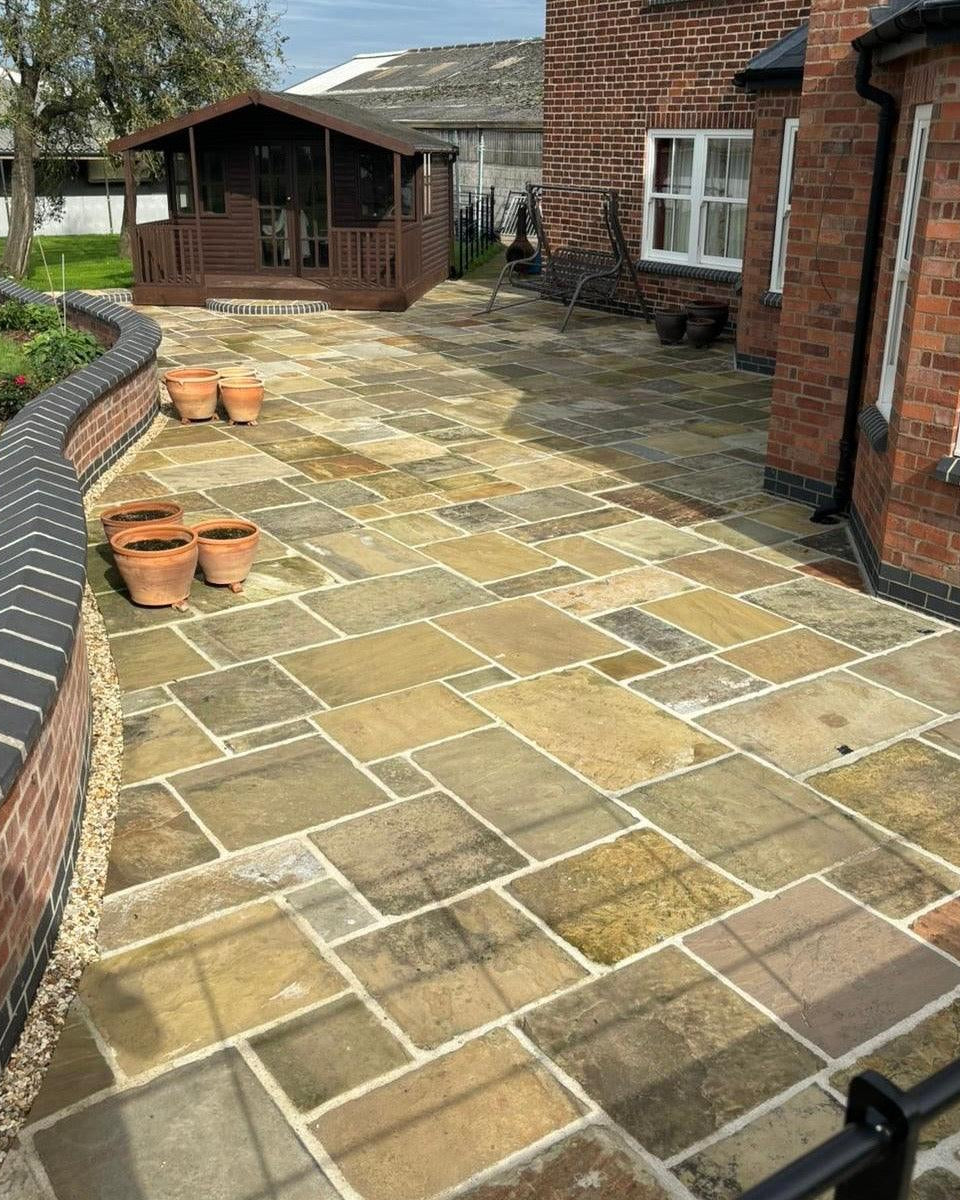
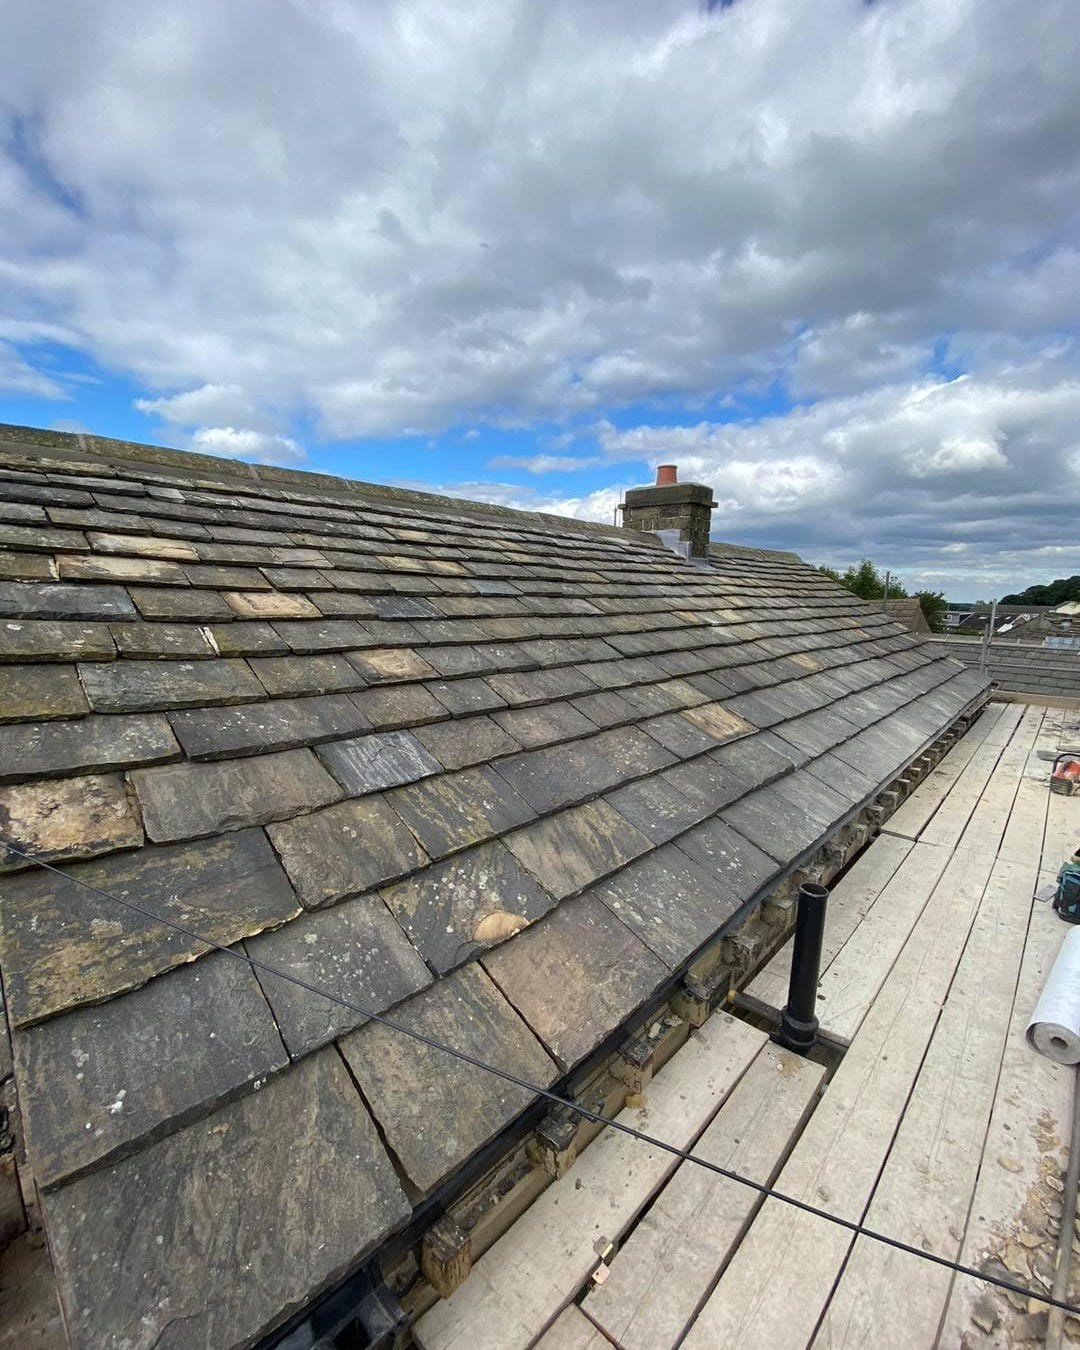
In contrast, individually laid stone or reclaimed materials require a more traditional approach. Each piece is positioned and adjusted by hand, allowing for greater variation and character but also increasing the level of skill and time required on site. This distinction is important, as it influences not only the installation process but also the overall cost, something explored further in our guide on stone cladding costs in the UK.
For higher-end or large-scale projects, installation may also involve additional considerations such as mechanical fixing systems or ventilation gaps, particularly where building regulations or structural requirements apply.
If you’re still deciding on the overall look, our guide on which stone cladding style is best for your home can help you choose the right finish for your project.
Preparing the Surface for Stone Cladding
The success of any stone cladding installation begins with the condition of the substrate. A stable, clean, and properly prepared surface is essential to ensure adhesion and prevent long-term issues.
Walls must be structurally sound and free from dust, grease, or loose material. In many cases, particularly on exterior walls or uneven surfaces, a backing layer or render may be required to create a level base. For certain applications, mechanical fixing systems may also be specified, particularly where additional support is needed.
Moisture control is another important consideration. External walls must be appropriately sealed or protected to prevent water ingress, while internal installations should account for environmental conditions such as humidity and temperature variation.
Taking the time to prepare the surface correctly is one of the most critical steps in the entire process. Any compromise at this stage can affect both the appearance and durability of the finished installation.
Setting Out and Planning the Layout
Before fixing any stone in place, the layout should be carefully planned. This involves determining how the cladding will be positioned across the surface, including alignment, joint spacing, and the treatment of edges and corners.
A dry run is often recommended, particularly for projects involving varied stone sizes or reclaimed materials. This allows installers to visualise the final appearance and make adjustments before adhesive is applied. For panel systems, setting out ensures that courses remain level and that joints align correctly throughout the installation.
Attention to detail at this stage helps avoid issues later in the process, particularly where cuts or adjustments are required around features such as windows, doors, or sockets.
Fixing the Stone Cladding in Place
Once the surface has been prepared and the layout established, the installation process can begin. Adhesive is typically applied to the back of the stone or panel, as well as to the wall where required, ensuring full coverage and a strong bond.
Each piece is then positioned carefully, with consistent pressure applied to secure it in place. For panel systems, interlocking edges help maintain alignment and reduce visible joints. For individually laid stone, spacing and positioning must be managed manually to achieve a balanced and natural appearance.
It is essential to work in manageable sections, allowing time for adjustments and ensuring that the adhesive does not begin to set before placement is complete. Maintaining level courses throughout the process is particularly important, especially on larger walls where small inconsistencies can become more noticeable over distance.
Cutting, Detailing, and Finishing
No stone cladding installation is complete without some degree of cutting and detailing. Edges, corners, and transitions require careful attention to ensure a clean and professional finish.
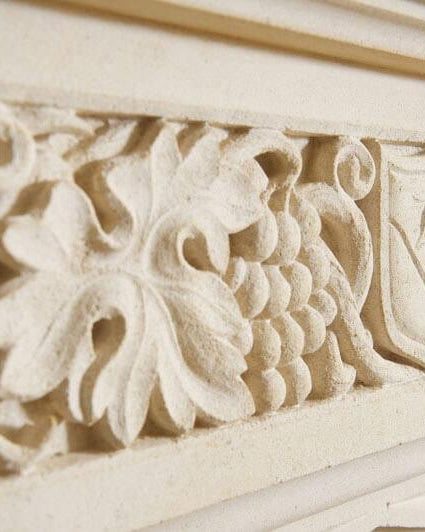
Cutting stone typically involves the use of specialist tools such as diamond blades, allowing for precise shaping without damaging the material. Corners may be finished using pre-formed pieces or by mitring edges to create a seamless look.
Once the stone is in place, any joints can be pointed or finished depending on the desired aesthetic. Some installations favour a tight, dry-stacked appearance, while others incorporate mortar joints to enhance the traditional look.
Cleaning the surface after installation is also important, removing any excess adhesive or residue to reveal the natural texture and colour of the stone.

Common Challenges and How to Avoid Them
Even with careful planning, stone cladding installation can present challenges. Uneven surfaces, incorrect adhesive application, or poor alignment can all affect the final result.
One of the most common issues is inadequate surface preparation, which can lead to adhesion failure over time. Similarly, rushing the installation process can result in inconsistent spacing or misaligned courses, particularly on larger projects.
Weather conditions must also be considered for external installations. Extreme temperatures or moisture can affect both the adhesive and the stone itself, making it important to follow recommended guidelines for installation conditions.
Working with experienced installers and sourcing high-quality materials from a trusted supplier can significantly reduce these risks and ensure a more reliable outcome.
Professional Installation vs DIY Considerations
While some smaller interior projects may be suitable for confident DIY installation, most stone cladding applications benefit from professional expertise. External walls, larger surfaces, and projects involving complex detailing require a level of skill that ensures both safety and long-term performance.
Understanding the installation process, however, remains valuable for all project types. It allows homeowners and developers to plan effectively, communicate clearly with contractors, and make informed decisions about materials and design.
For those exploring options, reviewing a dedicated stone cladding collection can provide a clearer sense of how different products are designed to be installed and where they are best suited.
Final Thoughts
Installing stone cladding is a process that combines careful preparation, technical precision, and an understanding of the material itself. When carried out correctly, it delivers a finish that is both durable and visually distinctive, enhancing the character of a space for years to come.
From initial surface preparation through to final detailing, each stage plays a role in achieving a high-quality result. By approaching installation with the right level of planning and expertise, and by working with a specialist supplier such as Britannia Stone Company, it is possible to create a finish that reflects both the natural beauty of the material and the standards of the project itself.
(BSC-B-045)
